For: CRMDAY One users with the Insurance profile.
Separate supporting documents and cards by purpose
Use Attachments for supporting policy documents, such as available confirmations. Use ID Cards to organize cards by primary applicant or family member. Contact attachments and policy attachments have different contexts: check where you are working.
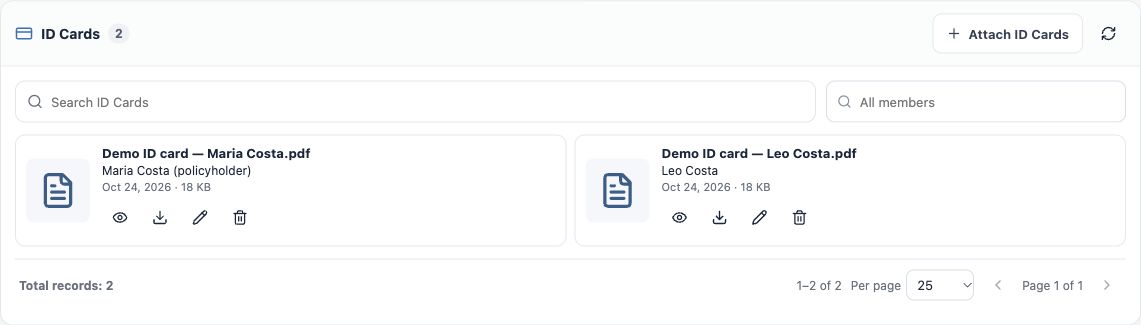
The example lists demonstration files for Maria and Leo. They illustrate list organization; they are not valid carrier cards or proof of coverage.
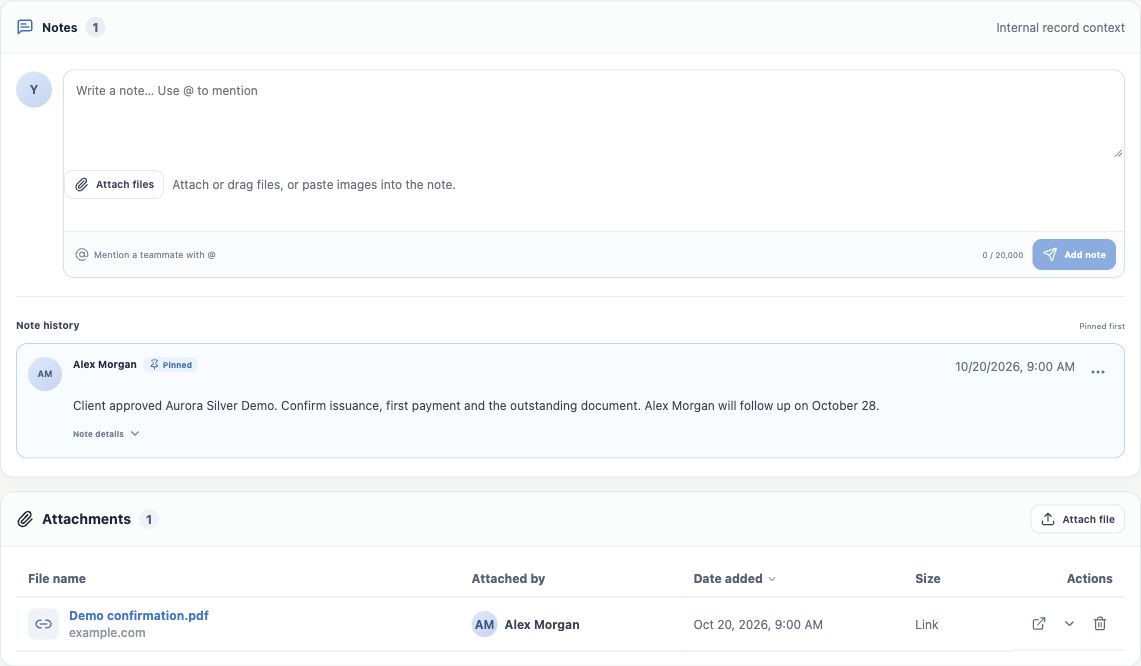
Attach supporting documents
- Open the policy and check plan, client and year.
- Scroll to Attachments and choose Attach file. Select the right document and wait for completion.
- Check file name, date and author in the list. Open or download it to confirm its contents.
- For a related pending item, record what was received and the next action in Notes. Attaching does not establish carrier acceptance or automatically resolve an item.
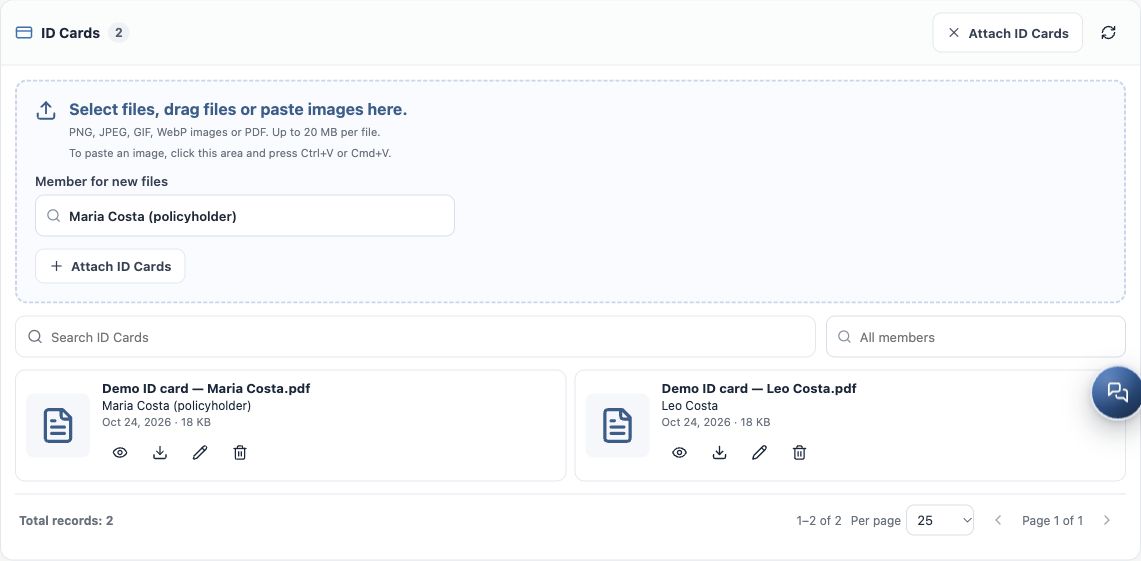
Attach ID Cards for the applicant and family
- In ID Cards, click Attach ID Cards to expand the upload area.
- Choose the member for new files. The initial selection applies to files added afterwards; check whether it should be Maria, Leo or another person.
- Select files with the button, drag them into the area or paste images with Ctrl+V/Cmd+V. Follow the formats and limits shown on screen.
- Review every queued item. If files belong to different people, adjust the member for each before saving.
- Click Save ID Cards and wait. Check the confirmation and saved cards with their correct members. If an individual file fails, resolve that item’s error; already-saved files need not be uploaded again.
Supported formats are PNG, JPEG, GIF, WebP and PDF. The example displays 20 MB per file and up to 20 files per upload. Follow the actual limit displayed for your organization.
Find, check and correct a card
- Use file/member search and the member filter to locate the card. Also check pagination.
- Open the preview or use Download. Read the name, identification and dates in the received document instead of relying only on its filename.
- If the card belongs to another family member of the same policy, use the change-member action, select the correct person and save. Reopen the list to verify.
- If a removed-member warning appears, review the relationship. Do not assign the card to another person merely to clear the warning.
Share through the right channel and verify
The ID Cards list provides preview and download. It does not automatically send a message or email. To share a file, download the right document and attach it to the contact’s conversation or email after checking recipient, member and year. Avoid treating internal preview addresses as public customer links.
Sharing an ACA simulation uses the comparison’s own link; it is different from a plan ID card. You are done when the file opens and is linked to the correct policy and member.
Keep learning
- The client approved the quote: prepare the policy
- Create the policy with the wizard
- Review and update the policy record
- Track status, payment and pending items
- Organize after-sales service and the next interaction
- ACA quotes: save and share the simulation
- Manage opportunities and next steps
Updated October 24, 2026.