For: CRMDAY One users with the Insurance profile.
Prepare the material and recipient
Open the correct conversation and confirm client message mode. Read the file before attaching, give it a recognizable name and check that it belongs to this client. Sending an ID card in a message does not replace organizing documents in the policy.
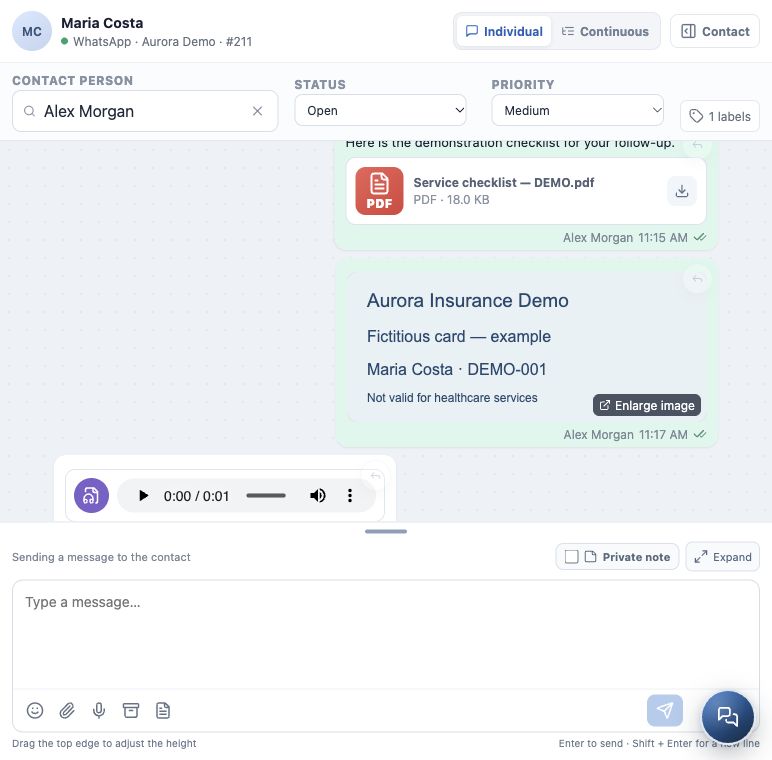
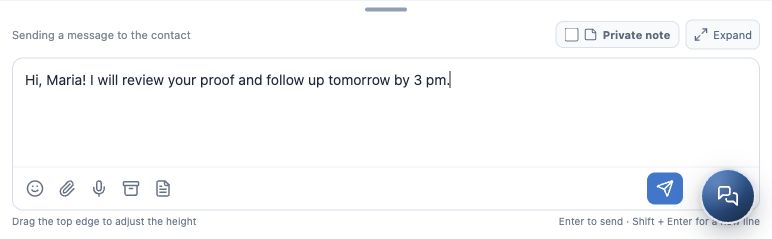
Images show the real interface with a fictitious card, a demonstration file and a test audio player. The card is not valid for plan services; the illustrative audio is synthetic.
Send a file or image
- Click the paperclip — Attach in the writing toolbar.
- Select files on your device. Selection allows up to 5 attachments per send and 25 MB per file; the channel may impose additional restrictions.
- Check previews and names. Remove incorrect selections before sending. If a size warning appears, reduce or replace the file.
- Write a short explanation, such as “Maria, here is the checklist for our follow-up”.
- Click Send message and confirm the attachment in history without a delivery error. If a preview fails to load, check whether the file can be opened using the available action.
Record and send audio
- Click Record audio, the microphone icon. Allow browser microphone access if you want to use this feature.
- Watch the recording indicator and speak a focused message.
- Click the microphone again to finish. The recording enters the attachment selection; stopping recording does not send it.
- Check the selection and remove the audio if you need to record again. Add text if useful.
- Click Send message and check the player in history. For incoming audio, listen using the playback controls before replying.
If something does not work
| Situation | What to do |
|---|---|
| Microphone unavailable | Check browser permission and the input device; use text while resolving it. |
| Large file or missing selection | Review file size and attachment count; confirm the preview before sending. |
| Sending blocked | Check conversation status, channel connection and any approved-template requirement. |
| Sending failed | Fix the stated cause and retry; check history to avoid duplicate files. |
To request completion, documents and a signature by link, follow sending forms. Attaching a PDF here does not create a signature request.
Confirm the result
- The file, image or player appears in the correct conversation.
- The content matches the person and request.
- No sending error remains; you checked the channel’s available indicator.
Continue with canned responses and message templates to handle frequent replies faster.
Keep learning
- Get to know Conversations
- Start, reply to and follow a conversation
- Use canned responses and message templates
- Record private notes and involve a colleague
- Track and close a service conversation
- Request documents and signatures
- Create and track policies
Updated October 24, 2026.